> ## Documentation Index
> Fetch the complete documentation index at: https://docs.aftersell.com/llms.txt
> Use this file to discover all available pages before exploring further.
# Creating your first checkout widget
> Guide through setting up a checkout widget in Aftersell, from selecting and creating the widget to customizing its style and behavior.
In this article, we'll walk you through the process of setting up a checkout widget in Aftersell. To learn about the different widget types that are available, [click here](/aftersell/checkout_widget_types).
Let's get started.
***
## Step 1: Selecting your widget
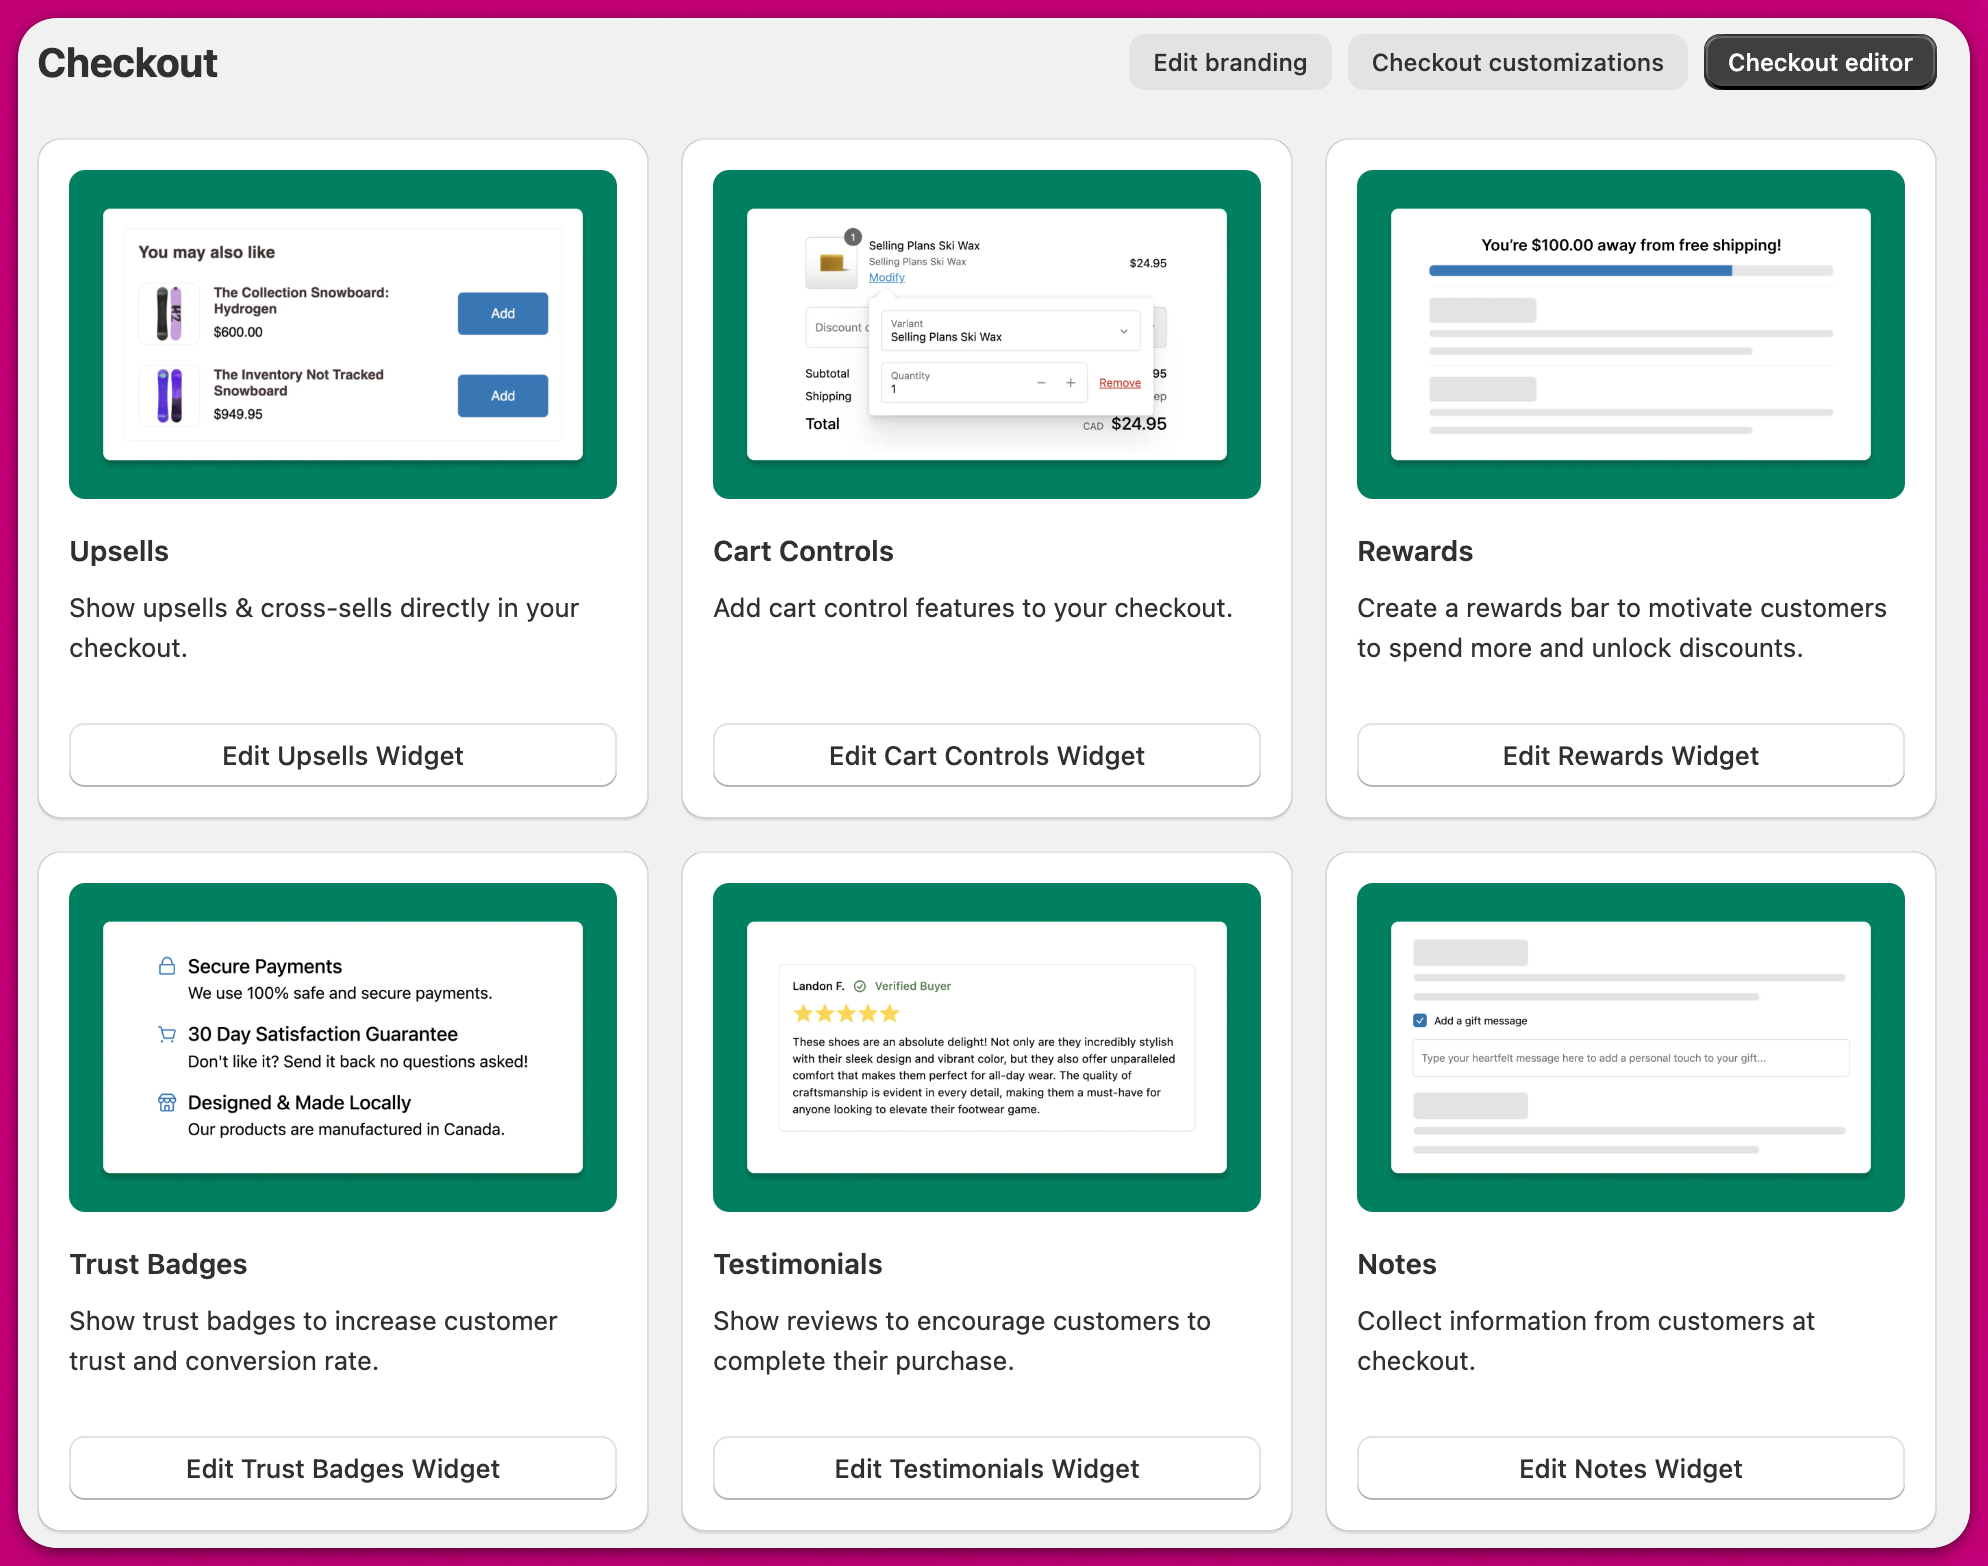
First things first, select the widget that aligns with your needs. Whether it's an upsell or testimonial widget, Aftersell offers a range of choices to cater to your preferences.
In this tutorial, we are going to select the upsell widget.
 ***
## Step 2: Creating your widget
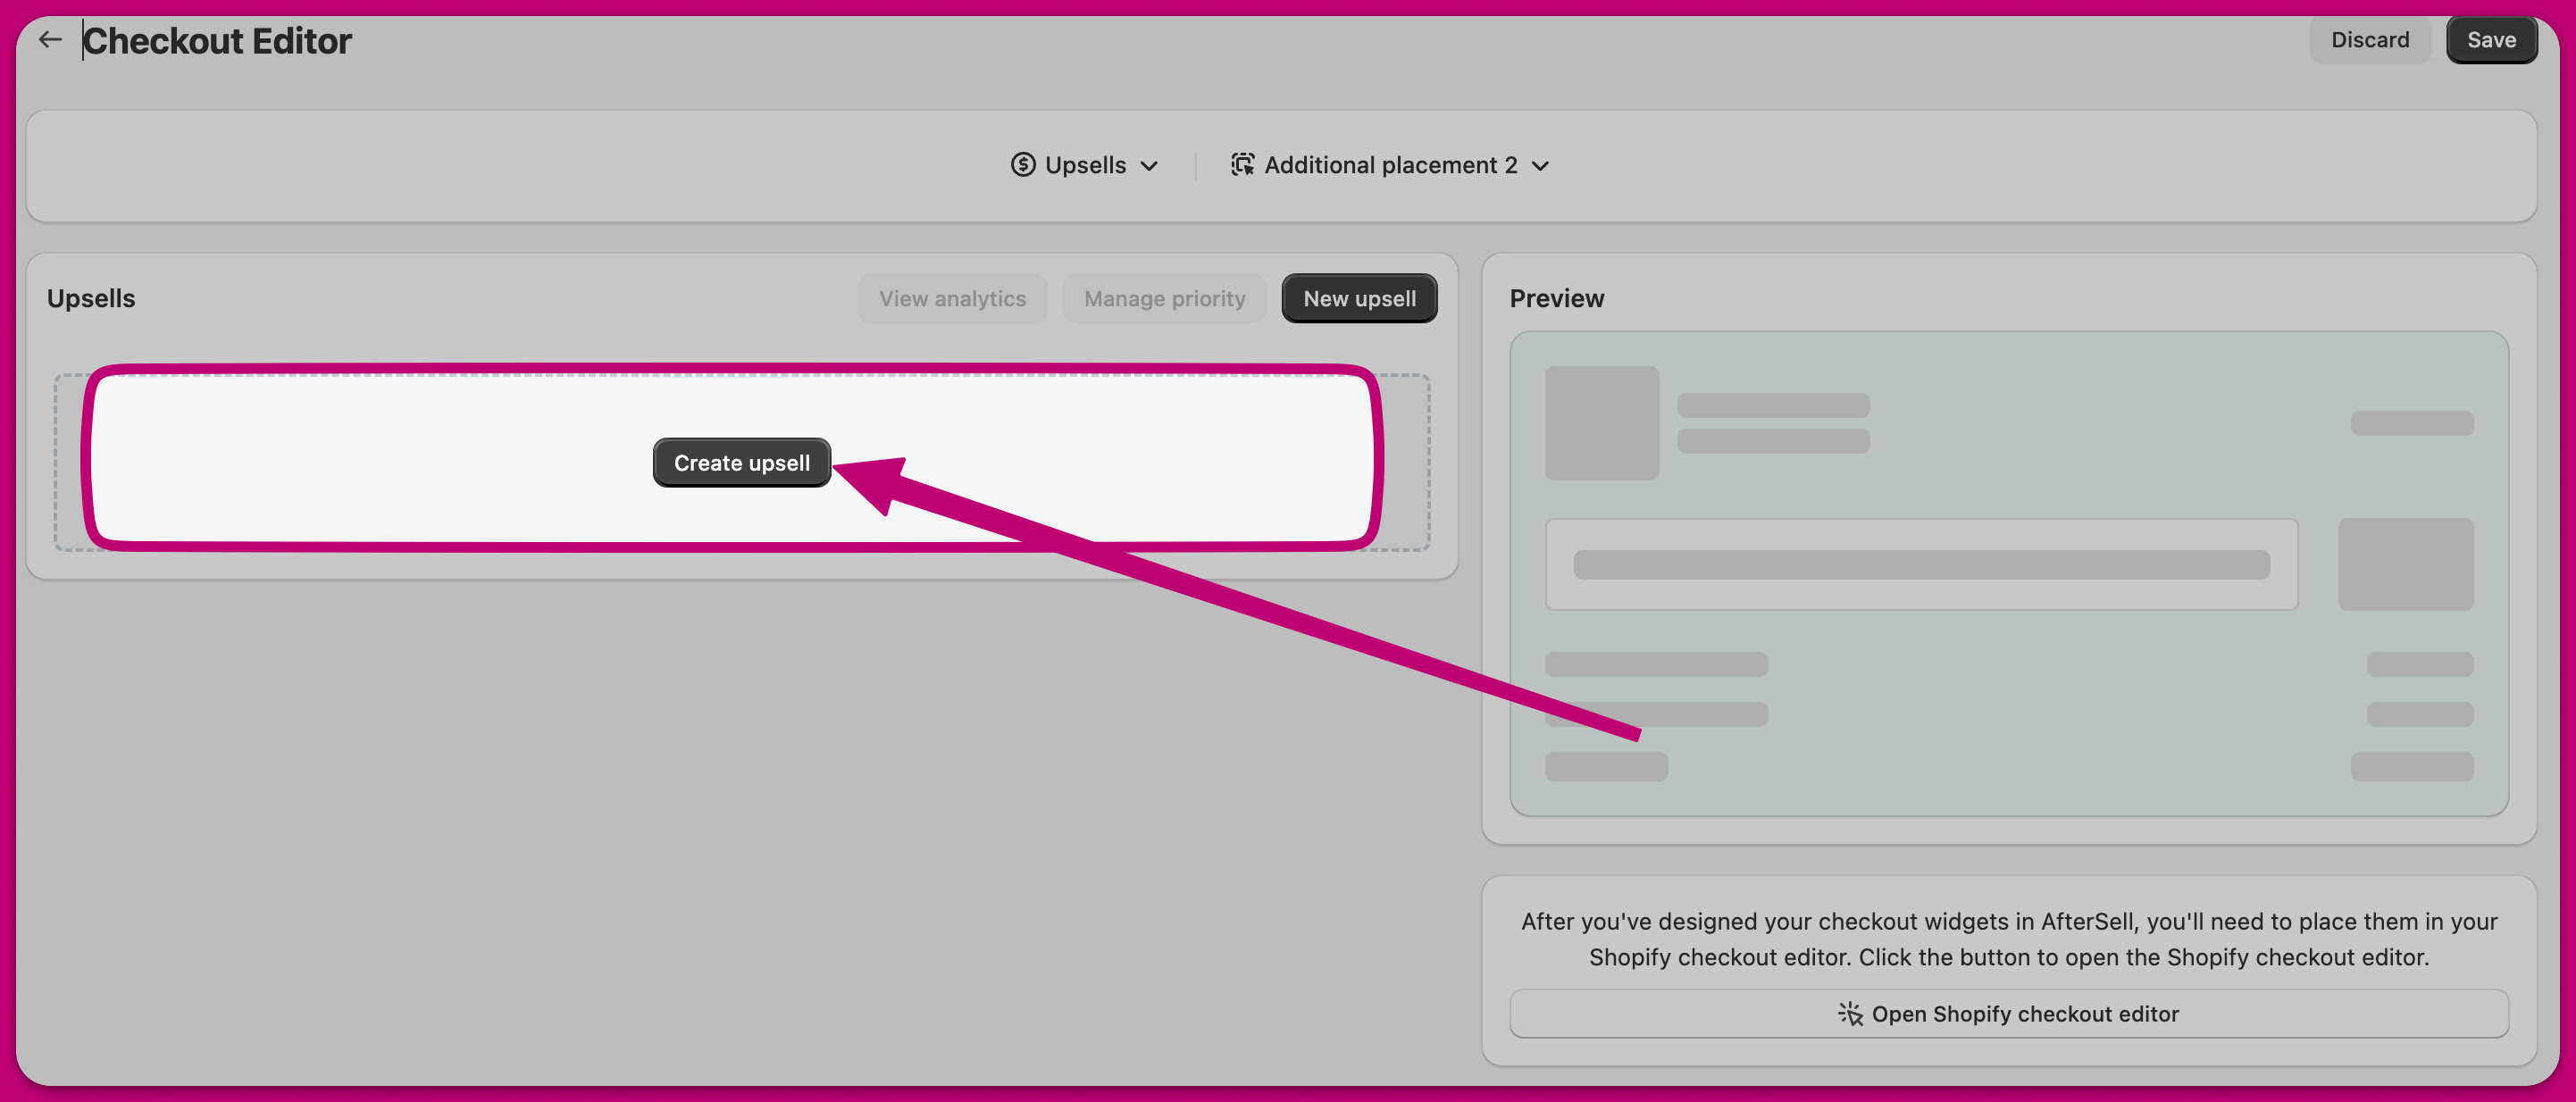
Click "Create Upsell" to start building out your upsell widget.
***
## Step 2: Creating your widget
Click "Create Upsell" to start building out your upsell widget.
 ***
## Step 3: Selecting a preset
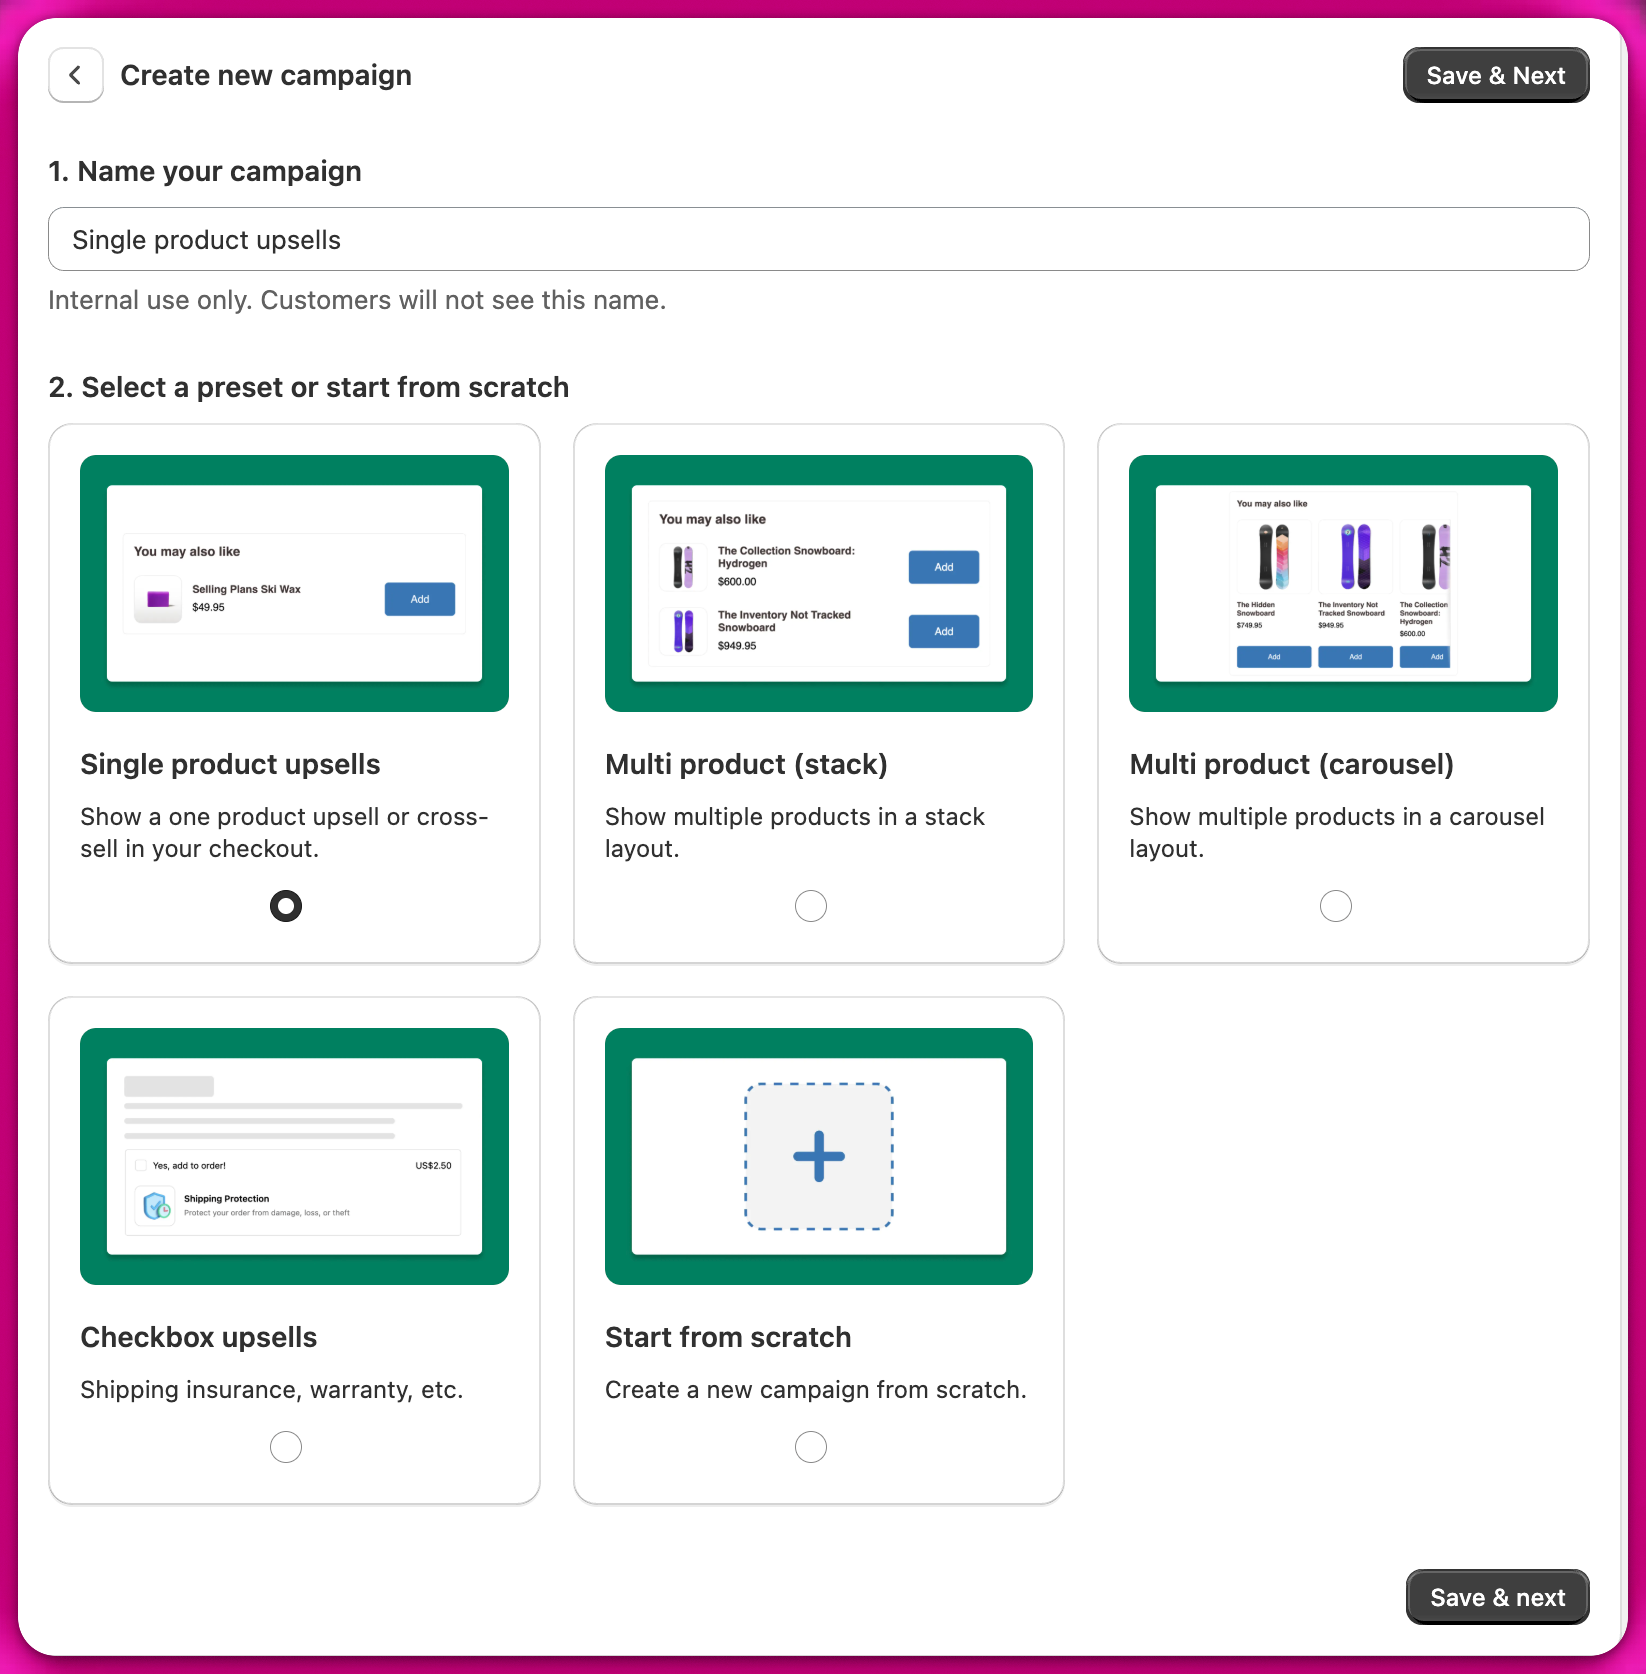
Choose from a list of optimized widget presets or opt to start from scratch.
***
## Step 3: Selecting a preset
Choose from a list of optimized widget presets or opt to start from scratch.
 ***
## Step 4: Edit styling and behaviour
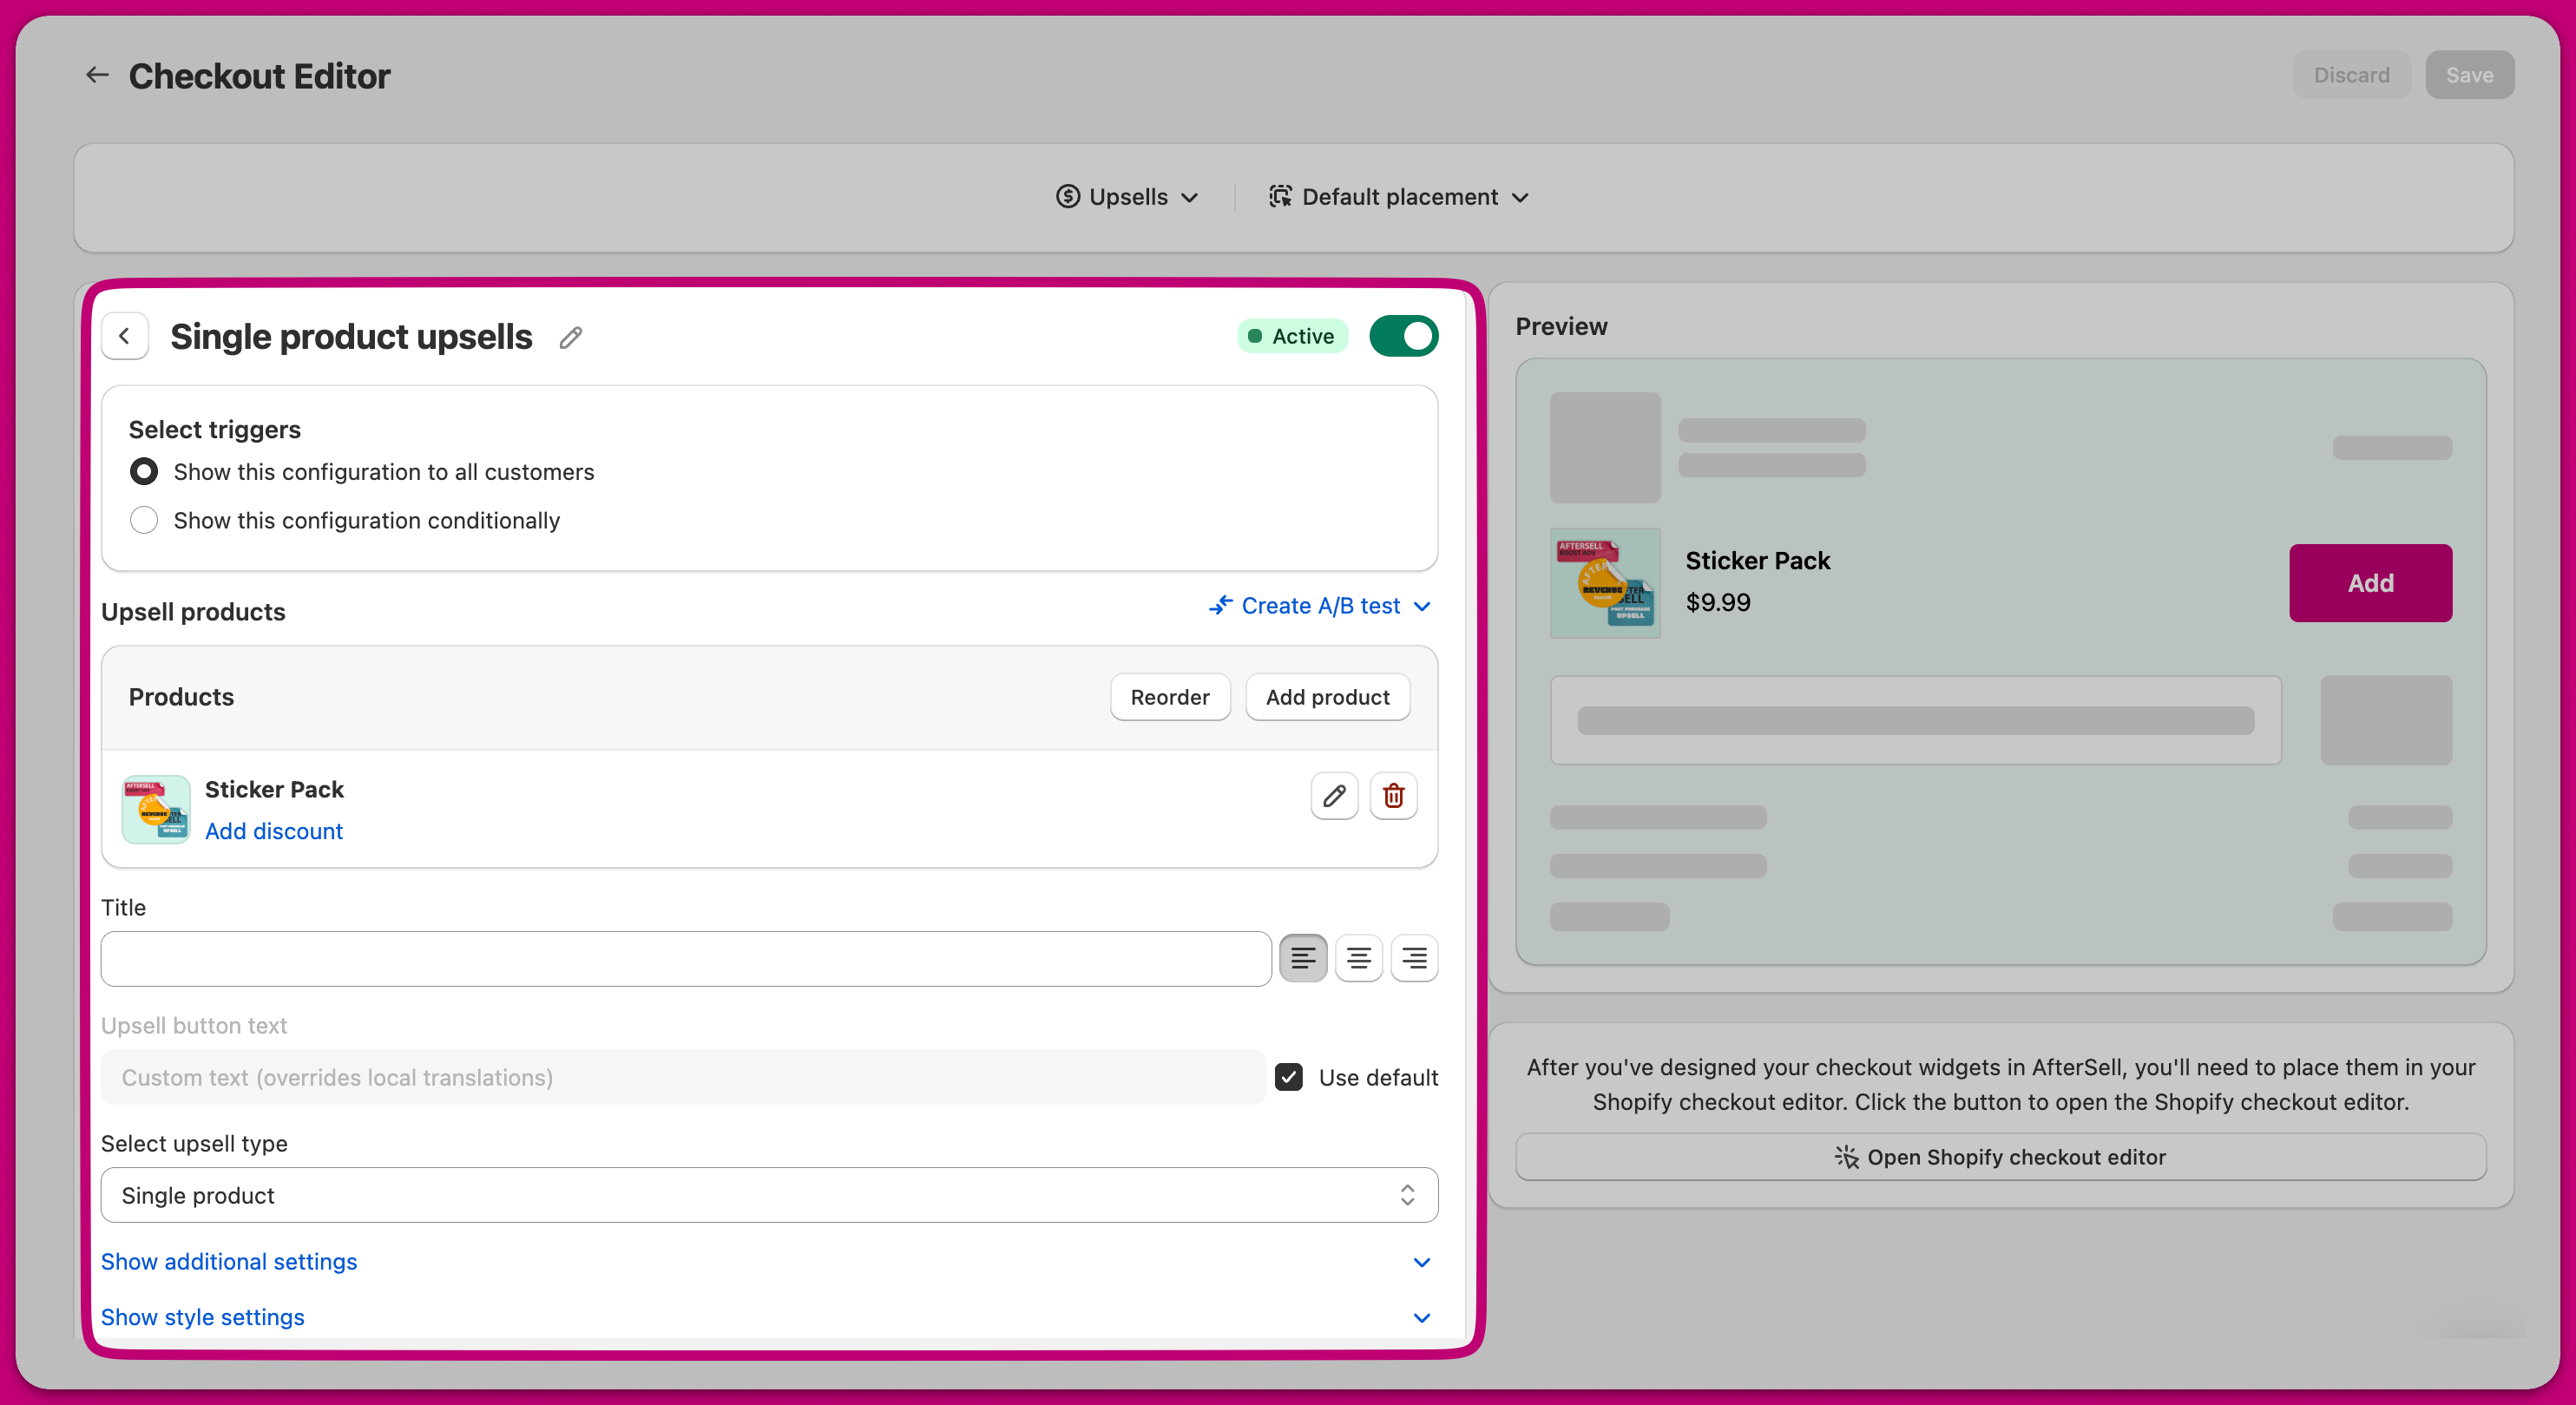
It's time to fine-tune the details. Adjust the styling and behavior of your widget to perfection. Tweak the triggering logic, refine the product selection, or add that final touch of polish to the design.
***
## Step 4: Edit styling and behaviour
It's time to fine-tune the details. Adjust the styling and behavior of your widget to perfection. Tweak the triggering logic, refine the product selection, or add that final touch of polish to the design.
 ***
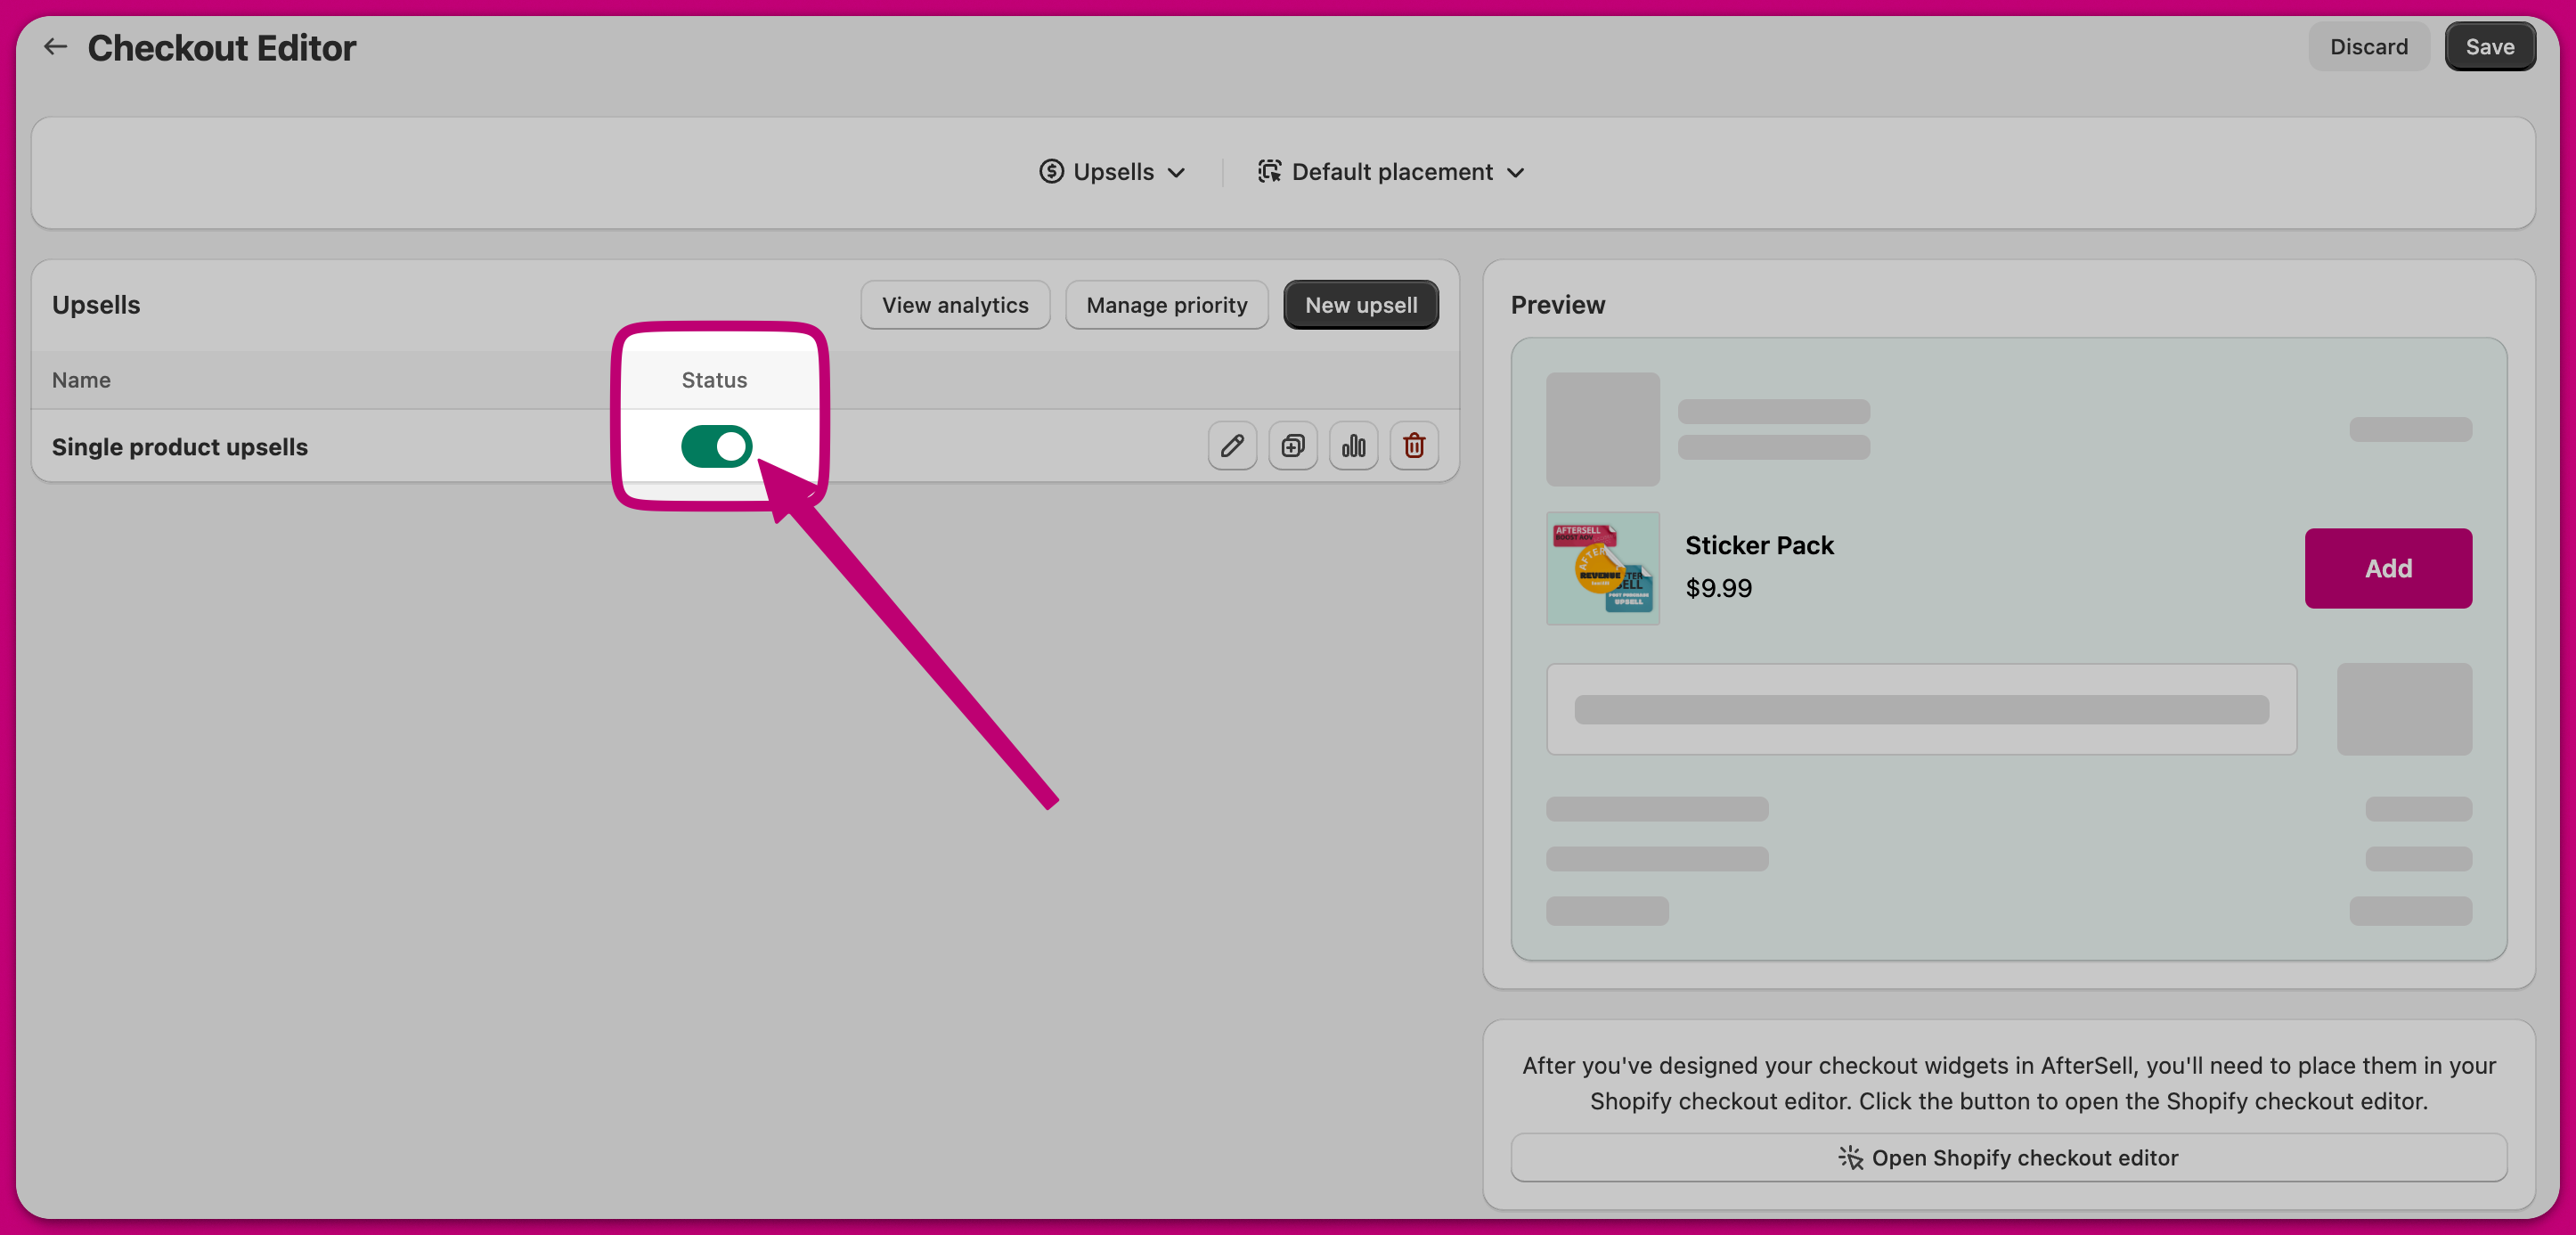
## Step 5: Enable widget status
Ensure your widget status is set to active.
***
## Step 5: Enable widget status
Ensure your widget status is set to active.
 With your checkout widget now live in Aftersell, the final step awaits, placing the widget into your Shopify checkout. Looking to learn how? Click below to dive deeper into the process.
[Learn More](/aftersell/adding_a_checkout_widget_to_your_shopify_checkout)
With your checkout widget now live in Aftersell, the final step awaits, placing the widget into your Shopify checkout. Looking to learn how? Click below to dive deeper into the process.
[Learn More](/aftersell/adding_a_checkout_widget_to_your_shopify_checkout)